
HK
Haleigh Kessler
Greater Indianapolis
"My floors look so amazing! Beautiful craftsmanship. They did my entire upstairs in one day. Very professional and I am so happy with the results."
Google Review
Most installation problems are really expectation problems. Here is the whole sequence, including the parts that happen before anyone shows up with material.
Homeowners are rarely surprised by the finished floor. They are surprised by the process - how long it takes, how much of it happens before installation day, and how disruptive the middle part is. Here is the honest sequence, start to finish.
Everything starts here, and it is worth more than people realize. We measure the actual rooms rather than working from a floor plan, because rooms are rarely the dimensions anyone thinks they are.
We also look at things that affect the quote and never appear in a phone estimate: what is under the existing flooring, whether the subfloor is flat, how rooms transition into each other, what the stairs look like, and where the floor meets cabinets and doorways.
And we bring samples. Choosing material in your own light, next to your own cabinets and walls, is the only reliable way to judge color and grain. Everything looks different under showroom lighting.
This is the step that gets skipped by crews in a hurry, and it is invisible to the customer, which is exactly why it gets skipped.
Wood absorbs and releases moisture from the surrounding air. Flooring delivered from a warehouse is not at the same moisture content as the inside of your house. If it is installed before those equalize, the boards will move afterward - gaps opening between planks in a dry Indiana winter, or buckling in a humid summer.
Acclimation means letting the material sit inside the home, in the rooms where it will be installed, with the house at normal living temperature. It costs days that nobody can see, and it is the difference between a floor that stays tight and one that does not.
Existing flooring comes out. This is the loudest, dustiest stage, and how bad it is depends entirely on what is coming out. Carpet and pad are quick. Glued-down vinyl and old adhesive are slow. Multiple layers of past flooring - which older central Indiana homes frequently have - are slower still.
This is also the stage where the subfloor is revealed, and where surprises live. A good contractor tells you what they find before proceeding rather than working around it silently.
Almost every flooring problem that shows up a year later was a subfloor problem on day one.
The subfloor has to be flat, because dips and humps telegraph straight through to the finished floor and cause hollow spots, movement and separated seams. It has to be dry, particularly over a slab, where moisture vapor comes up from the ground continuously. And it has to be sound, with loose panels fastened and damaged sections repaired, because a squeak in the subfloor becomes a permanent squeak in your new floor.
High spots get ground down and low spots get filled. This is unglamorous work that adds time and cost, and it is the single worst place to economize, because it is the one part of the job you cannot come back and fix without removing the entire floor.
The satisfying part, and usually faster than people expect once prep is done.
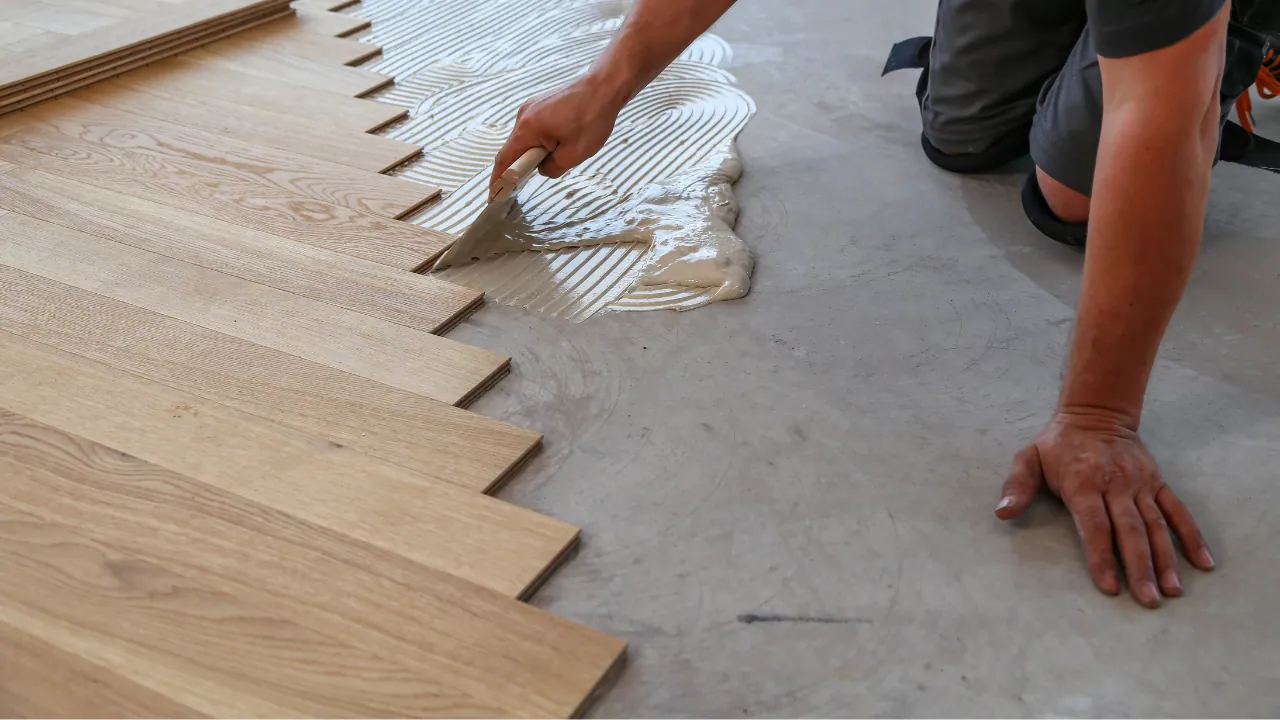
How the floor attaches depends on the material and the subfloor. Nail or staple down for solid hardwood over a wood subfloor. Glue down for engineered wood over concrete, which gives a very solid feel with no hollow sound. Floating for click-lock products, where planks lock to each other over an underlayment rather than fastening to the subfloor.
Layout gets decided here too. Board direction affects how a room reads, and running planks along the length of a room or toward the main light source generally makes the space feel larger.
The details that separate a professional job from an amateur one. Baseboard or shoe molding covers the expansion gap around the perimeter, which is essential - floating floors need room to move seasonally, and covering that gap is what makes it invisible.
Transitions between rooms and between different flooring materials get fitted, thresholds at doorways get set, and the floor gets cleaned.
Practical things worth planning: rooms being floored are out of use for the duration, furniture needs somewhere to go, and tear-out is genuinely dusty. If you work from home, plan around the loud stage.
Pets and small children are best kept out of the work area entirely - there are tools, staples and material edges everywhere.
After installation, most floors can take light foot traffic quickly, but heavy furniture and rugs should wait. On site-finished wood, the finish needs time to cure properly, and rushing that is how a new floor picks up marks in its first week.
The visible part of a flooring installation is a small fraction of the job. Measuring, acclimation and subfloor prep are where the quality comes from, and a quote that is notably cheaper than the others is nearly always cheaper in those three places rather than in the material.
Book a free in-home design consultation and we will walk your rooms, tell you what we expect to find under the existing floor, and give you a real schedule.
Factory-direct pricing across Indianapolis, Carmel, Fishers, and the surrounding metro. Quick installs of upper-end USA products - most projects wrap in 1 to 2 weeks, backed by a 1-year labor warranty plus the manufacturer's lifetime warranty - up to a 50-year hard surface lifespan.